Altering the filters of a reverse osmosis system is important with the intention to keep its effectivity and preserve it operating easily. By following these easy steps, you may simply change your reverse osmosis filters your self.
Pre-Filters
Step 1
Gather:
- Clear fabric
- Dish cleaning soap
- The suitable sediment
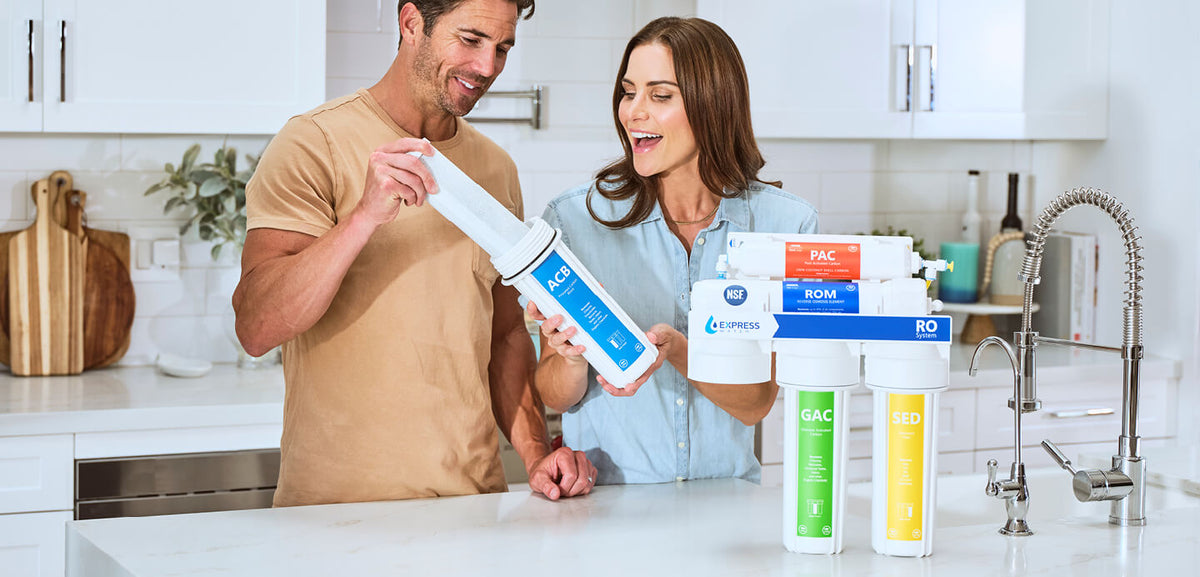
- GAC and carbon block filters
- Bucket/bin giant sufficient for the complete system to sit down in (water shall be launched from the system when it’s disassembled)
Step 2
Flip off the Feed Water Adapter Valve, the Tank Valve, and the Chilly Water Provide linked to the RO System. Open the RO Faucet. As soon as the stress has been launched, flip the deal with of the RO faucet again to the closed place.
Step 3
Put the RO System within the bucket and use the Filter Housing Wrench to take away the three Pre Filter Housings. Outdated filters needs to be eliminated and thrown away.
Step 4
Use dish cleaning soap to scrub the Pre Filter Housings, adopted by thorough rinsing.
Step 5
Take care to totally wash your arms earlier than eradicating the packaging from the brand new filters. Place the recent filters inside the acceptable housings after unwrapping. Be certain that the O-Rings are located accurately.
Step 6
Utilizing the filter housing wrench, tighten the prefilter housings. Don’t tighten an excessive amount of.
RO Membrane – advisable change 1 12 months
Step 1
By eradicating the duvet, you could entry the RO Membrane Housing. With some pliers, take away the RO Membrane. Watch out to determine which facet of the membrane is the entrance and which is the rear.
Step 2
Clear the housing for the RO membrane. Set up the brand new RO Membrane within the Housing in the identical route as famous earlier. Push within the membrane firmly earlier than tightening the cap to seal the Housing.
PAC – advisable change 1 12 months
Step 1
Take away the Stem Elbow and Stem Tee from the Inline Carbon Filter’s sides.
Step 2
Set up the brand new filter in the identical orientation because the earlier PAC filter, paying attention to the orientation. Discard the outdated filter after eradicating it from the retaining clips. Insert the brand new filter into the holding clips and join the Stem Elbow and Stem Tee to the brand new Inline Carbon Filter.
UV – advisable change 6-12 months
Step 1
Take the ability wire out of the socket. DO NOT take away the steel cap.
Step 2
Gently and punctiliously take away the UV sterilizer’s black plastic cowl (in the event you do not tilt the system until the white ceramic piece of the bulb is accessible, the bulb may come out with the cap).
Step 3
Get rid of the outdated UV bulb after unplugging the ability wire from it.
Step 4
Connect the ability wire to the brand new UV bulb.
Step 5
Fastidiously insert the brand new UV Bulb via the steel cap’s aperture into the UV Housing. Then fastidiously change the sterilizer’s black plastic high.
Step 6
Reattach {the electrical} wire to the outlet.
ALK or DI – advisable change 6 months
Step 1
Subsequent, unplug the stem elbows from the filter’s two sides.
Step 2
Consider how the earlier filter was put in and place the brand new filter in the identical place. Discard the outdated filter after eradicating it from the retaining clips. After that, connect the Stem Elbows to the brand new filter by inserting the brand new filter into the retaining clips.
System Restart
Step 1
Fully open the tank valve, the chilly water provide valve, and the feed water adapter valve.
Step 2
Open the RO Faucet deal with and totally empty the tank earlier than turning the Faucet deal with off.
Step 3
Permit the water system to re-fill (this takes 2-4 hours). To set free any trapped air within the system as it’s filling, momentarily open the RO Faucet. (Throughout the first 24 hours after resuming, make sure to examine for any new leaks.)
Step 4
Drain the entire system after the water storage tank is full by turning on the RO faucet and holding it open till the water move is lowered to a gentle trickle. Subsequent, shut off the tap.
Step 5
To utterly clear the system, perform procedures 3 and 4 thrice (6-9 hours)
IMPORTANT: Keep away from draining the RO System via the water dispenser in a fridge whether it is connected to 1. The inner fridge filter will develop into clogged with the additional carbon fines from the brand new carbon filter.
Trending Merchandise